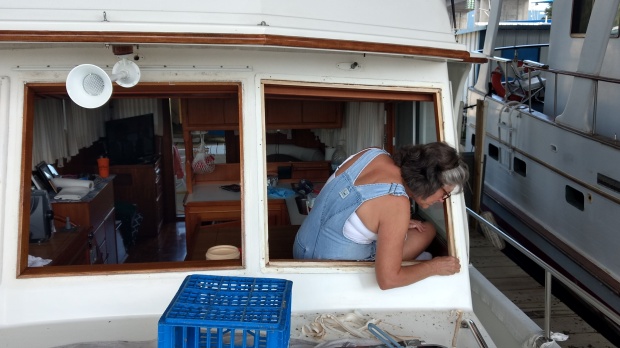
The dreaded window rebedding.
Previous owners had done their best to maintain the windows by painting them with a brush. I figured six coats. The paint was flaking down to the wood, time for repair.
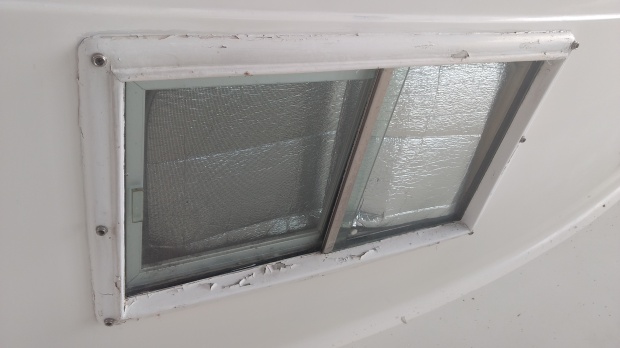
I prefer to just do it right, strip to bare wood, and do it once. Should last fifteen years.
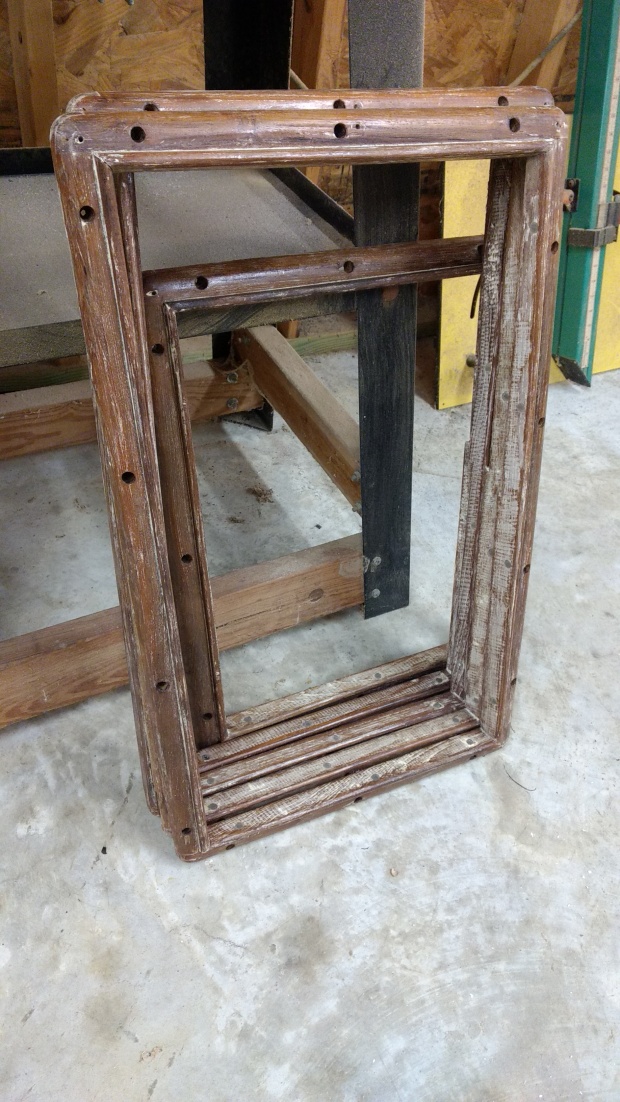
The beauty of Grand Banks is that the window framing is all teak wood. So it is a lot of man hours, but little cost to rebuild everything. With the boat under a shed, the job is much easier.
The other benefit of wood is you can get an almost infinite life out of a rebuild with the new superior adhesives, sealants, and paints that are available. This is not possible with aluminum frame windows. They corrode, and once corrosion starts, it breaks the seal between the frame and window, and also the frame and hull. The only option for aluminum is to remove and sandblast, or replace. Very difficult.
All GBs need this done, some earlier than others. Of all the trawlers, the Europas are the least susceptible to having the windows leak since they are mostly covered. Alas, my forward window started a small leak, and we caught it very quickly.
I started at the bow, removing the smaller guest and owner’s quarters windows first. These would give me an idea what to expect on the larger salon windows and front windows. The first window, the smallest, took two hours. The next five took four hours total. The front windshield interior trim also needed to be refinished, the sun had degraded the varnish. The rest of the interior trim was still perfect.

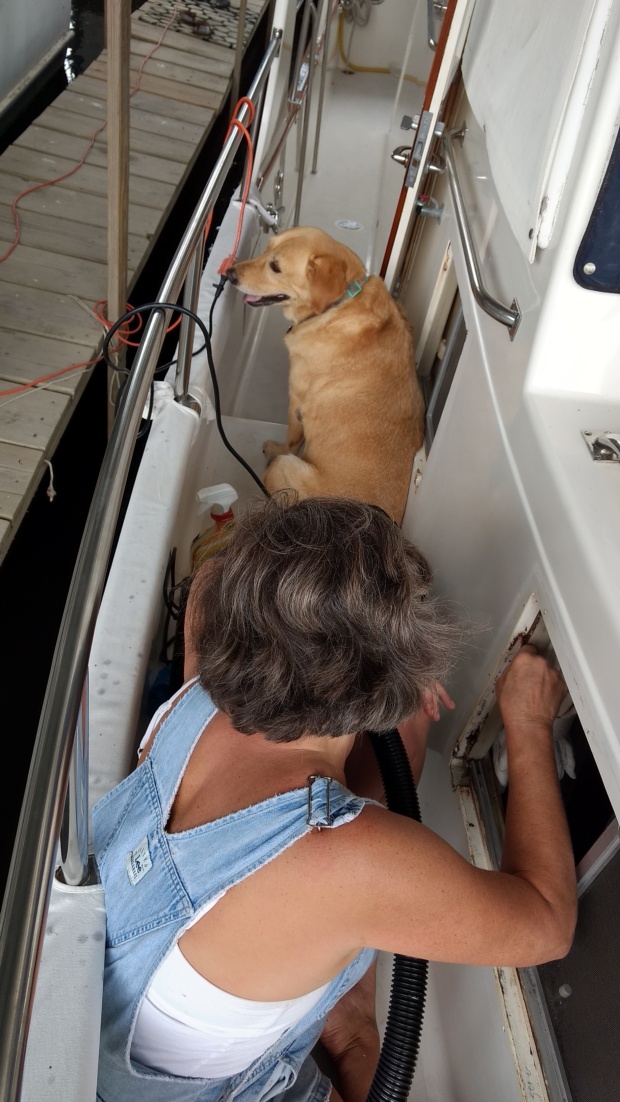
Grand Banks hid the mounting screws by recessing them then filling the holes with matching wooden plugs, and then painting the frame. To find the holes you take a chisel, use it as a scraper, and uncover the bungs which by design are made to be invisible. Their method looks good, but requires all the plugs to be removed, an extreme hardship when refinish painting. My initial plan was to fill the holes and countersink the screws, so removing the trim in the future was a simple matter. This was rejected, and Claire filled the newly finished frames screw holes with lots of teak bungs, while Daisy stayed close guarding the boat during a tropical thunder storm.
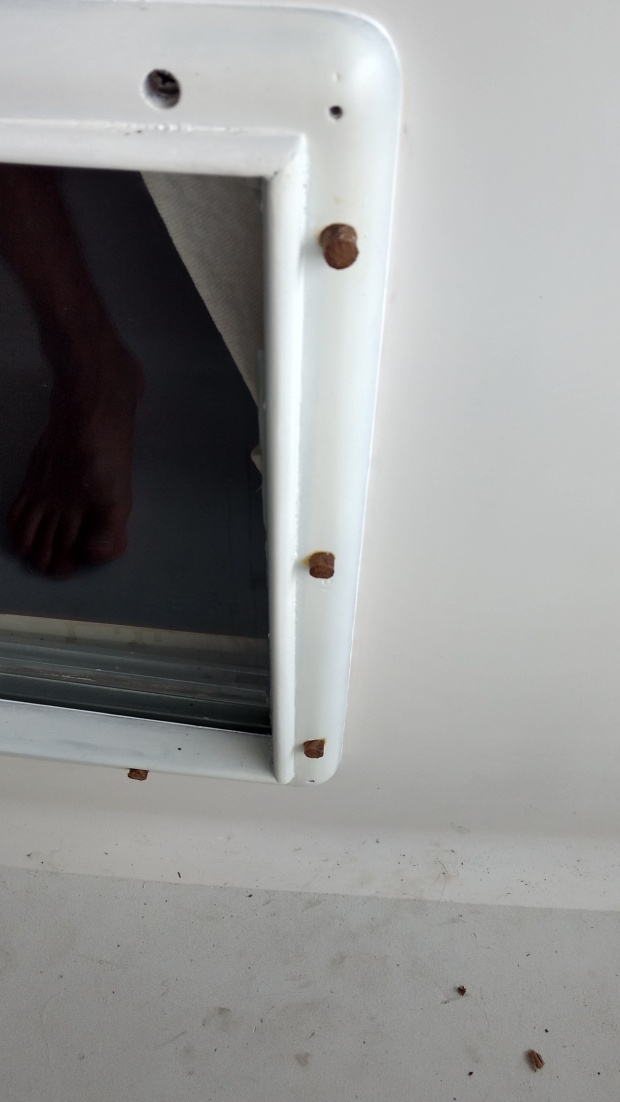
The bungs glued in.
Above are the first six frames, heat gun stripped, hand and power sanded, then coated completely with penetrating epoxy sealer. Those frames have four coats of Awlwood primer, then Awlgrip primer. Below are the three windshields. The middle opens, so it was finished completely in the shop.

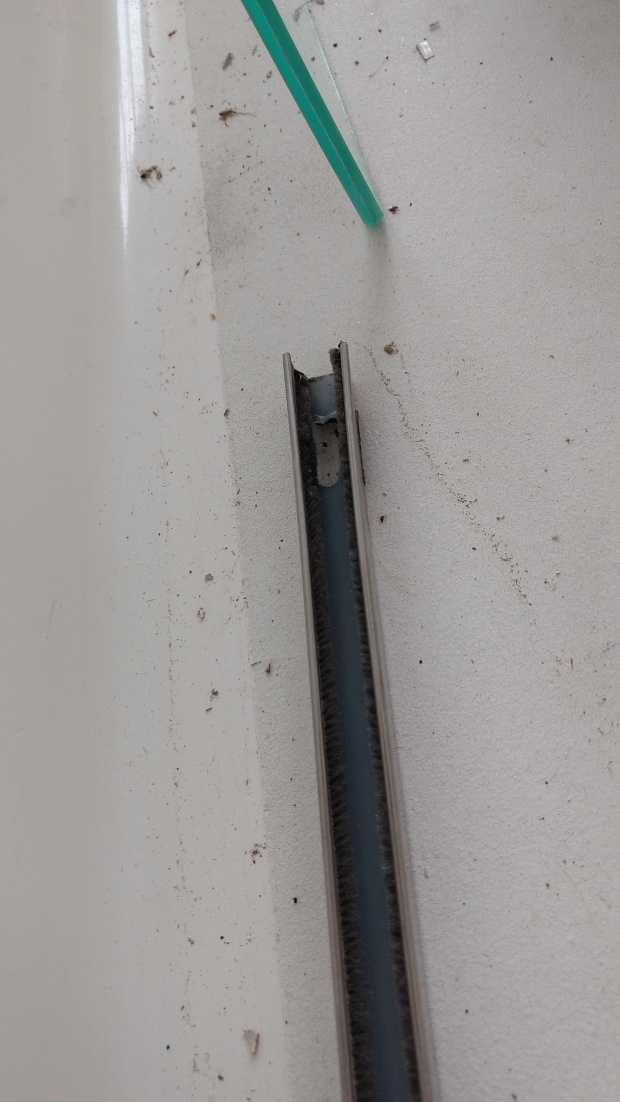
The bungs are cut with a chisel, made level, then faired and sealed. While rebuilding the windows we removed the 27 year old sealant, replaced glass panels, and the stainless mounting track. The track has a hole cut in each end for water to drain.
My guess is it takes 13 man hours per window, maybe fifteen, to finish each window. Eleven down, nine to go. Once all in we will reprime, then spray Awlgrip Grand Banks White on each frame.

Above each windshield is a wiper. Here they are installed and tested. The arms and blades will be added after final paint.
At the same time we scrapped off several layers of paint from the fiberglass and polished out the scrapes from the previous owners tools. We then polished the gelcoat and waxed the areas that had probably never seen wax before.
The process is really cleaning up the look of the boat.
